
Toxic Décor: The Soaking Tub & Biohazard Tiki Torches
Simple builds made with what I had — and pieces of the haunted world in my head.
HANDMADE
Anastasia
11/24/20255 min read
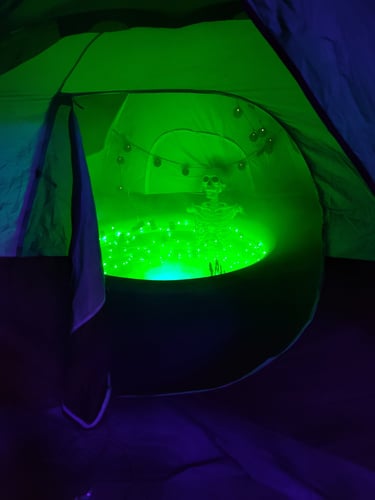
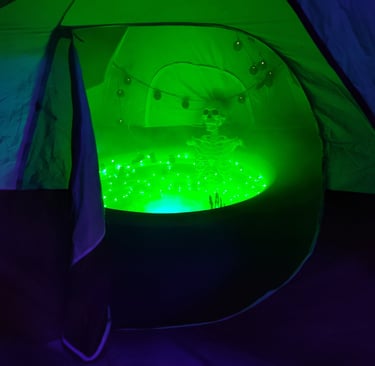
The soaking tub was one of the simplest builds of my toxic setup, but it still turned into something dramatic. I didn’t have a gothic gazebo or any kind of fancy structure — I used a regular tent to keep the tub protected from the rain and to stop water from collecting. I needed the fog machine inside the tub, and I wasn’t about to let it get soaked.
I wrapped green outdoor string lights around the inside walls of the tub and held them in place with duct tape. The lights gave it that eerie neon glow, but the fog kept filling the tent too fast, so I hid a small fan in the back to help push fog outward instead of letting everything vanish inside a cloud. It was simple, imperfect, and made entirely from things I already had… but it matched the world I saw in my imagination — something straight out of the Parlor of Shadows.
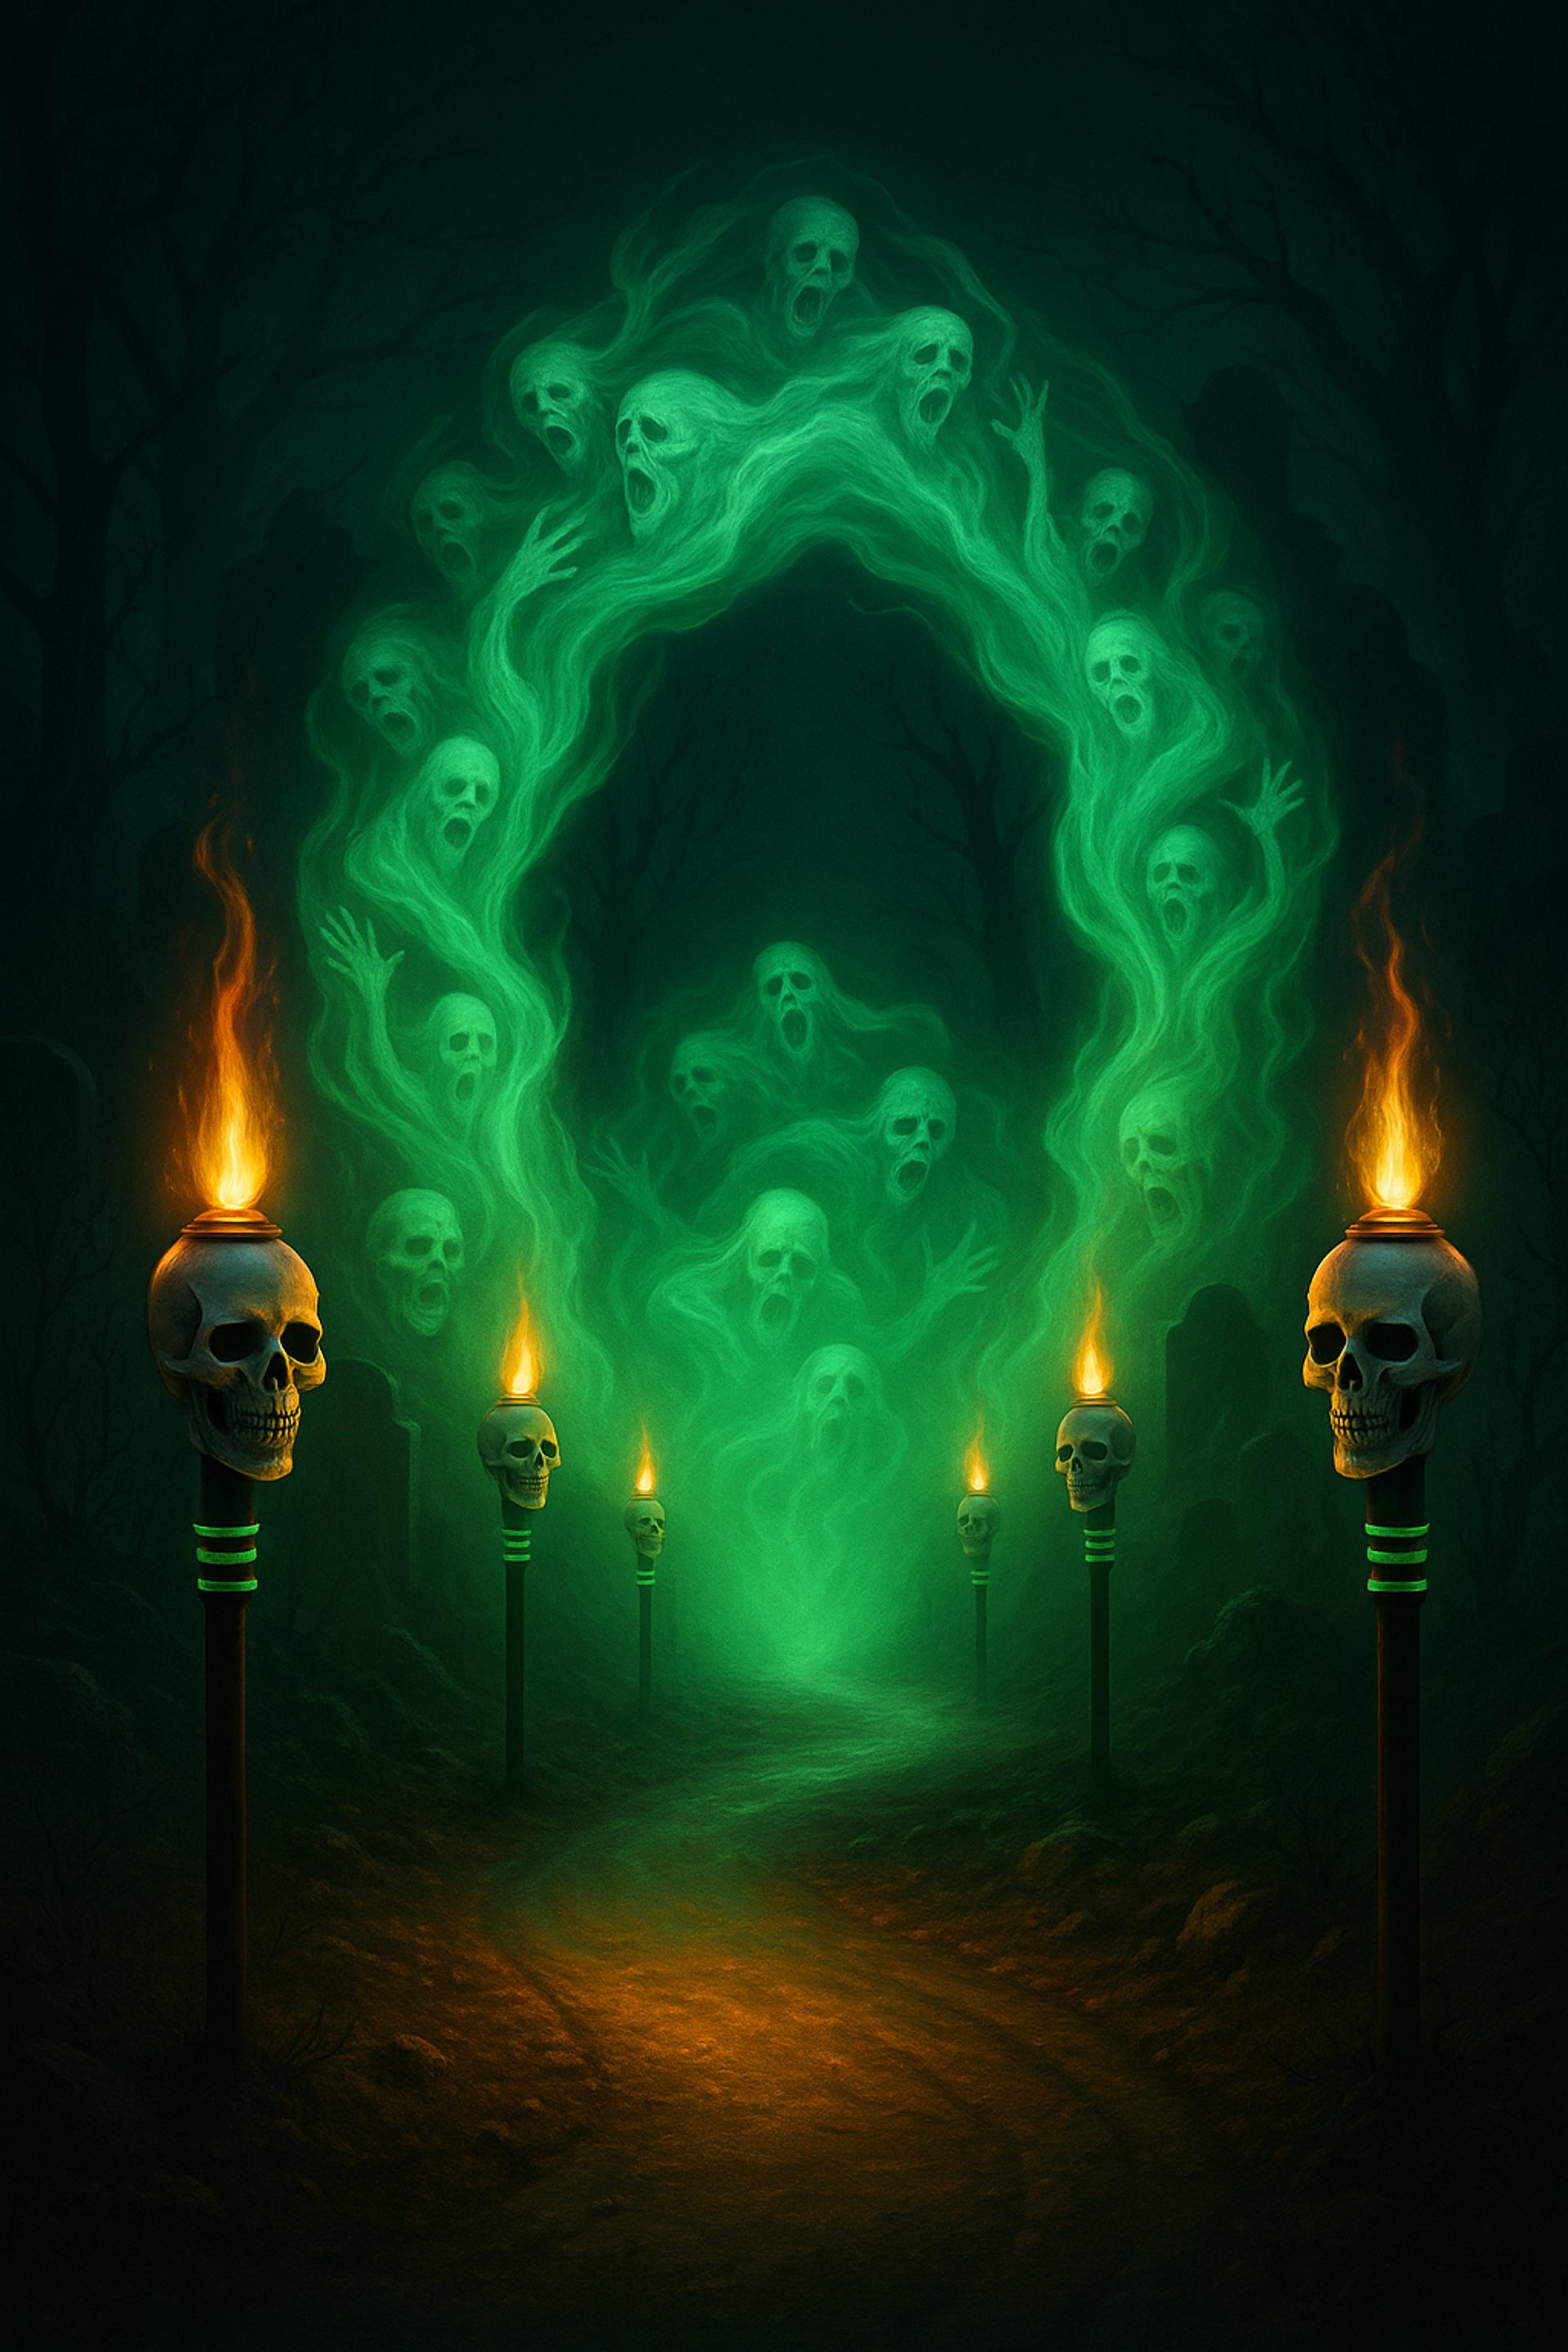
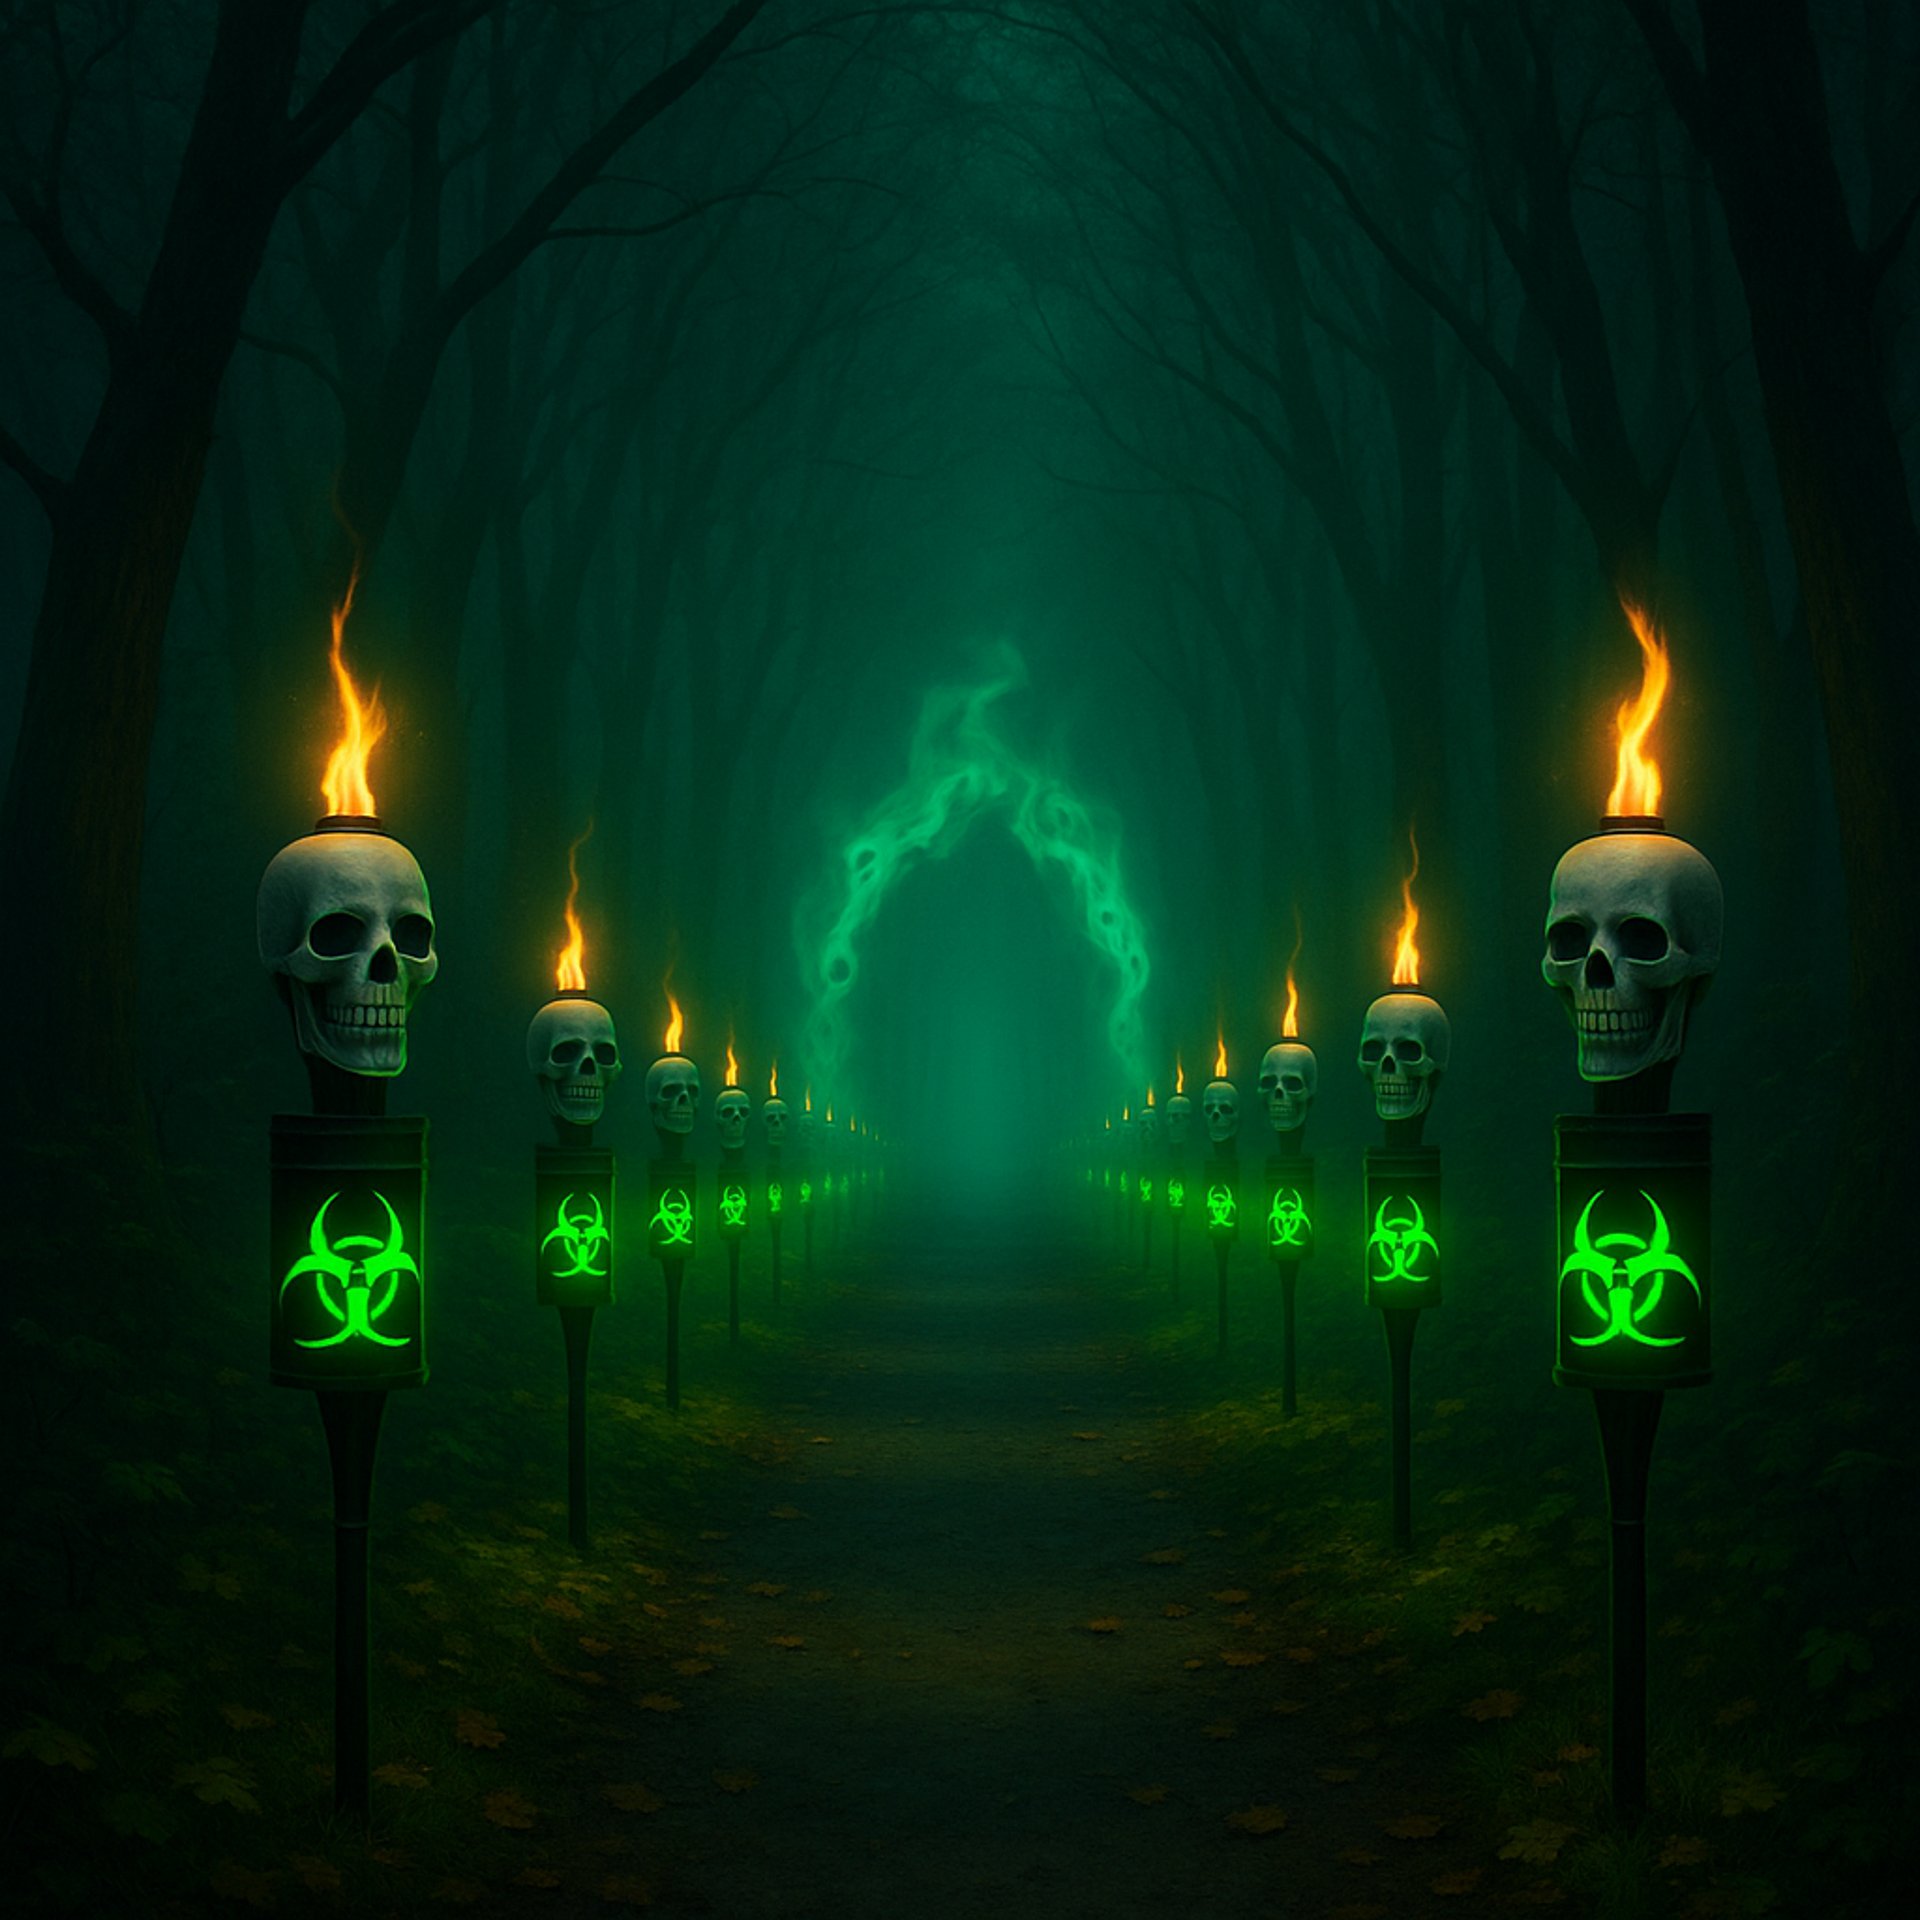
While I was building the tub, I also made matching biohazard tiki torches — by far the easiest build of the entire haunt. I spray-painted the torches black, used a stencil to layer on the fluorescent green biohazard symbol, and fit each one through a Dollar Tree skull (cut just enough to hold each torch snug). A couple zip ties later, the whole setup came together into a glowing toxic pathway that completed the entire theme.
Materials Used
For the Toxic Soaking Tub
Inflatable hot tub (any unused or old one works you might even be able to use a wading pool if you can get the sides to stay up.)
Tent or canopy (to keep out rain and stop water buildup)
Fog machine
Coffee tin or small stand (to keep fog machine lifted and dry)
Green outdoor string lights
Duct tape (to secure lights around the inside walls of the tub)
Small fan (to push fog outward so it doesn’t pool inside the tent)
Extension cords & power strip
Blacklights / UV lights (placed outside the tent to hit the tub)
For the Biohazard Tiki Torches
Regular tiki torches
Black spray paint
Fluorescent green spray paint
Biohazard stencil
Dollar Tree skulls
Utility knife or scissors (to cut holes in the skulls) (I used a wood burner with a dissecting blade attachment, it was smoother and easier.)
Zip ties (to secure skulls and torches together)
Toxic Soaking Tub
Step-by-Step Guide
Step 1 — Set Up the Tub and Tent
I started by placing the inflatable hot tub inside a regular tent.
The tent wasn’t for looks — it was to:
Keep rain out
Stop water from collecting
Protect the fog machine I put inside the tub
The tent turned into its own little toxic chamber.
Step 2 — Position the Fog Machine
I placed the fog machine inside the tub, sitting on top of a coffee tin so it stayed lifted and dry.
This kept the fog low and dense, letting it spill upward and out the top of the tub without drowning the machine.
Step 3 — Add the Green Glow
Next, I wrapped green outdoor string lights around the inside walls of the tub.
I used duct tape to secure them
I made sure there were no sharp bends near the cord
I tucked the tape low so it wouldn’t show once the fog started drifting
As soon as the lights hit the fog, the whole tub had a radioactive neon glow.
Step 4 — Fix the Fog Problem (The Fan Trick)
At first, all the fog just collected inside the tent and made the whole space disappear.
So I:
Hid a small fan in the back
Aimed it low and outward
Let it gently push fog out of the tent opening
This created a slow, drifting toxic haze — instead of one huge fog blob that swallowed everything.
Step 5 — Add UV / Blacklights
I positioned UV lights outside the tent, aimed directly at the tub.
They hit the fluorescent spray paint
Made the fog glow
Pulled the entire scene together
This was the moment the tub finally looked like the one I imagined.
Step 6 — Final Adjustments
I turned off all the regular lights and tested:
Fog flow
Glow intensity
Fan angle
Where shadows fell
How the tent framed everything
Tiny adjustments made a big difference.
A slight shift in the fan or blacklight changed the entire look.
Biohazard Tiki Torches
Step-by-Step Guide
Step 1 — Spray Paint the Torches Black
I started by laying out the regular tiki torches and giving them a full coat of black spray paint.
This instantly made them look darker, cleaner, and more toxic-themed.
Let them dry completely before moving on—spray paint and stencils don’t mix when the paint is tacky.
Step 2 — Add the Biohazard Symbol
Once the torches were dry, I taped my biohazard stencil onto each torch and sprayed the symbol on using fluorescent green spray paint.
The green paint glows under UV and matched the same neon I used for the Toxic Fountain.
Tip:
Do light, fast sprays so the paint doesn’t bleed under the stencil.
Step 3 — Prepare the Dollar Tree Skulls
Instead of using utility knives (which slip and fight you the whole time), I used a wood burner with a dissecting-blade attachment.
It sliced clean, smooth holes in the top and bottoms of the plastic skulls — just big enough for the tiki torches to slide in snugly. With the wood burner its better to start out a little small and shave of extra if need be to get them to fit where you want them.
No cracking.
No splitting.
No fighting the plastic.
Step 4 — Fit the Skulls Onto the Torches
Once the holes were cut, I slid each skull from the bottom up to the top of the tiki torch stopping where it sat snug and tight but trying not to block the biohazard sign.
This made it look like the torches were burning straight out of glowing, toxic skulls.
Step 5 — Secure With Zip Ties
To make sure the skulls didn’t wobble or tilt, I used zip ties around the back lip of the skull where it met the torch. being in the back and using clear zip ties they're hard to see so it works.
They disappear in the shadows and UV light, so nobody can see them — but it keeps everything rock solid.
Step 6 — Tie Them Into Your Setup
I placed these torches near the soaking tub and along the walkway so the biohazard symbols and skulls connected visually with the entire toxic theme.
Under UV and fog, they look like warning markers from a radioactive wasteland.
Final Notes
Both of these builds — the Toxic Soaking Tub and the Biohazard Tiki Torches — were made with whatever I had on hand. Nothing about them was fancy or expensive, and most of it came from leftover supplies from the Toxic Fountain. But that’s the part I love most about these projects: you don’t need perfect tools or a perfect setup to make something atmospheric.
The soaking tub started as an unused inflatable and an old tent. The tiki torches were dollar-store skulls and spray paint. But once the lights hit, once the fog started drifting, and once the UV paint came alive, everything transformed into something that looked like it belonged in the Parlor of Shadows.
These builds show that you can create an entire world — a mood, a scene, an illusion — out of simple materials and a little imagination. Nothing here required perfection. Only curiosity, experimentation, and the willingness to lean into the chaos until it looked right.
If You Recreate These…
Feel free to message me or share pictures — I love seeing how others interpret these ideas. Change the colors, swap out the materials, add props, upgrade the lighting… everything in this theme can be customized.
These are just two of the simpler pieces from my toxic setup, but they helped complete the whole vibe.
And trust me…
There’s still so much more coming.


Connect
Reach out to share stories or questions.
defiantheartcreations@outlook.com